
Creating a Discord Magic 8 Ball [Part 1/2]
![Creating a Discord Magic 8 Ball [Part 1/2]](http://brandonhim.com/assets/images/discord-tutorial-1.png)
Important Links
- 🎦 YouTube tutorial is available on my YouTube Channel: https://youtu.be/tYNjfvsGnSw
⟨⟩All code is available on GitHub.com/brh55/discord-magic-8-ball
As many of you know, getting started with your first chatbot can be rather daunting, there is new terminology, different methodologies, and just a completely different user-experience all-around. Well fear not, this tutorial will ease your way into the process of creating a simple, yet effective tutorial on building a discord bot.
Before we get started, it’s important to understand some key Discord terminology:
- Guild = Chat Server
- Apps = Integrations
- Rich Presence - Enhanced Game and Interactive User Information
- Bots = Discord Chatbots
- Gateways = A Discord secure communication through websockets
These terminologies will continue to reappear, and are important to understand from a high-level.
Let’s get started
The first part of the tutorial is to cover the basis of registering our bot within discord. If you know this already, feel free to proceed to the second part of the tutorial where we cover botkit, and writing the code involved with our bot.
Registering your Discord Application
We first start our journey by entering the developer portal on Discord, this is similar to many chatbot platforms as it will provide you with an API key, register the information of your bot, set your avatar, etc.
-
Go to discordapp.com/developers and proceed to the application portal
-
Locate the create an application button, and click on it

From here we can provide key descriptions and information regarding our application. In this case, I provide a magic 8 ball icon taken from the interwebs, and register the name and description. Once you have everything set, click “save changes” from the pop-up bar below.

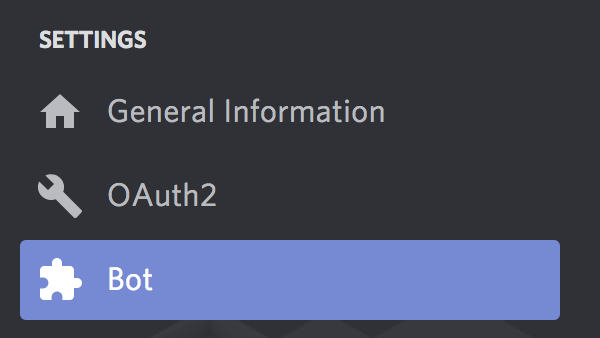
Next, we want to locate the left sidebar, and select “Bot”
Within the bot page, we select “Add Bot” and click “Yes, do it!”
Extra Information
This is essentially allowing our existing integration to have a visible presences within Discord in the form of a chatbot. Once we add a bot to our integration, we cannot reverse the process. This isn’t necessarily a problem, even if we decide our application will strictly be third-party integration, and have no bot functionality.
From here, we can alter the visual appearance of our bot within Discord itself, such as customizing the username, or changing the icon. You may want to limit the bots ability to be added only by you, in the case, we are not concerned with that.
In addition, you can grant a full-blown OAuth2 code flow, where you may ask the current user to grant a token for additional API permissions. This can be useful for things pertaining existing information on the current user, or doing specific actions to the current user.
But the one element we are most concerned about here is our bot token.
🚨 NOTE 🚨
If for any reason your token is compromised, you need to immediately regenerate your token to prevent any malicious people impersonating your bot and affecting your users

💃🏻 Viola! 🕺🏾
Our bot is finally created and exists within the Discord universe!
But wait how do we add our bot to our existing chat servers?
Great question, this is where the bot authorization flow come into play…
Bot Authorization Flow
In Discord, there are one ways of adding a bot into a chat server, this is through a server-less, callback-less OAuth2 URL mechanism, rather a simplified OAuth2 flow without all those pop-ups that you have to create on your end.
The structure of the URL goes like this:
https://discordapp.com/api/oauth2/authorize?client_id=XXXXXXX&scope=XXXXX&permissions=XXXXX
In this URL Scheme you’ll notice 3 key important query parameters that we need to alter
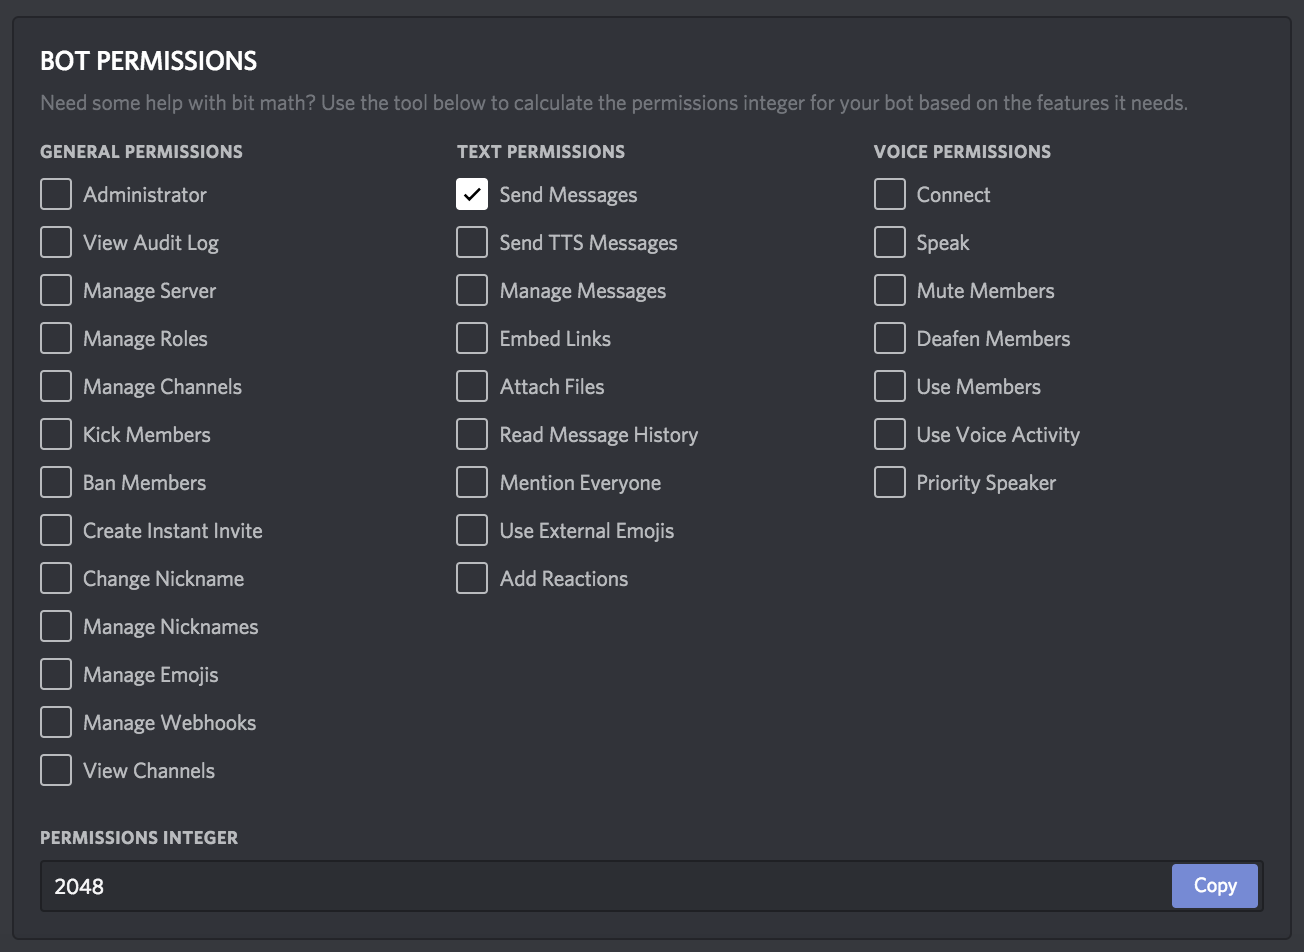
client_id- the client id of your application, this can be found on your application pagescope- the scope or type of permissions we are requesting for, in the casebotpermissions- a integer representation of the set of permissions, in our case, we are requesting message permissions which is going to be2048
We can determine our permissions in the bot page, using the bot permissions helper tool. You’ll only be needing to calculate these permissions every so often, so it’s best to just use this tool to simplify and prevent any potential errors. In our bot, we only need Send Messages, so we can copy over the permissions integer for our bto, however, feel free to add any additional permissions to your bot to further experiment.
Once we update these query parameters, we should have URL that looks like such:
https://discordapp.com/api/oauth2/authorize?client_id=519988412309045254&scope=bot&permissions=2048
Now login to your Discord account, and enter the authorization URL into your browser, this will initiate a OAuth2 flow (without a redirect). This gives the user the opportunity to reflect on the permissions and opt-out of some level of permissions prior to adding the bot into their selected server.

Once you hit authorize, and everything goes to plan, you should see an “authorized” image, and the bot will appear within your guild member list with the exception of it being offline, don’t worry that is correct.


Here we have the foundations of your bot register, and you can get on with part 2.